We jumped at the idea when Phosphorus approached us here at Bluetext about creating a new campaign. After extensive brainstorming the team agreed that a video integrating animated 3D objects into real-life footage would be the best way to tell the story of the Thing Tamer. It’s a trend that’s been going on for decades, from previously cheesy CGI such as The Scorpion King (2002) to more stunning recent examples like Disney’s live-action version of The Lion King (2019). The advancements in integrating 3D animated objects into real life have come a long way! Let’s dive into some of the techniques used.
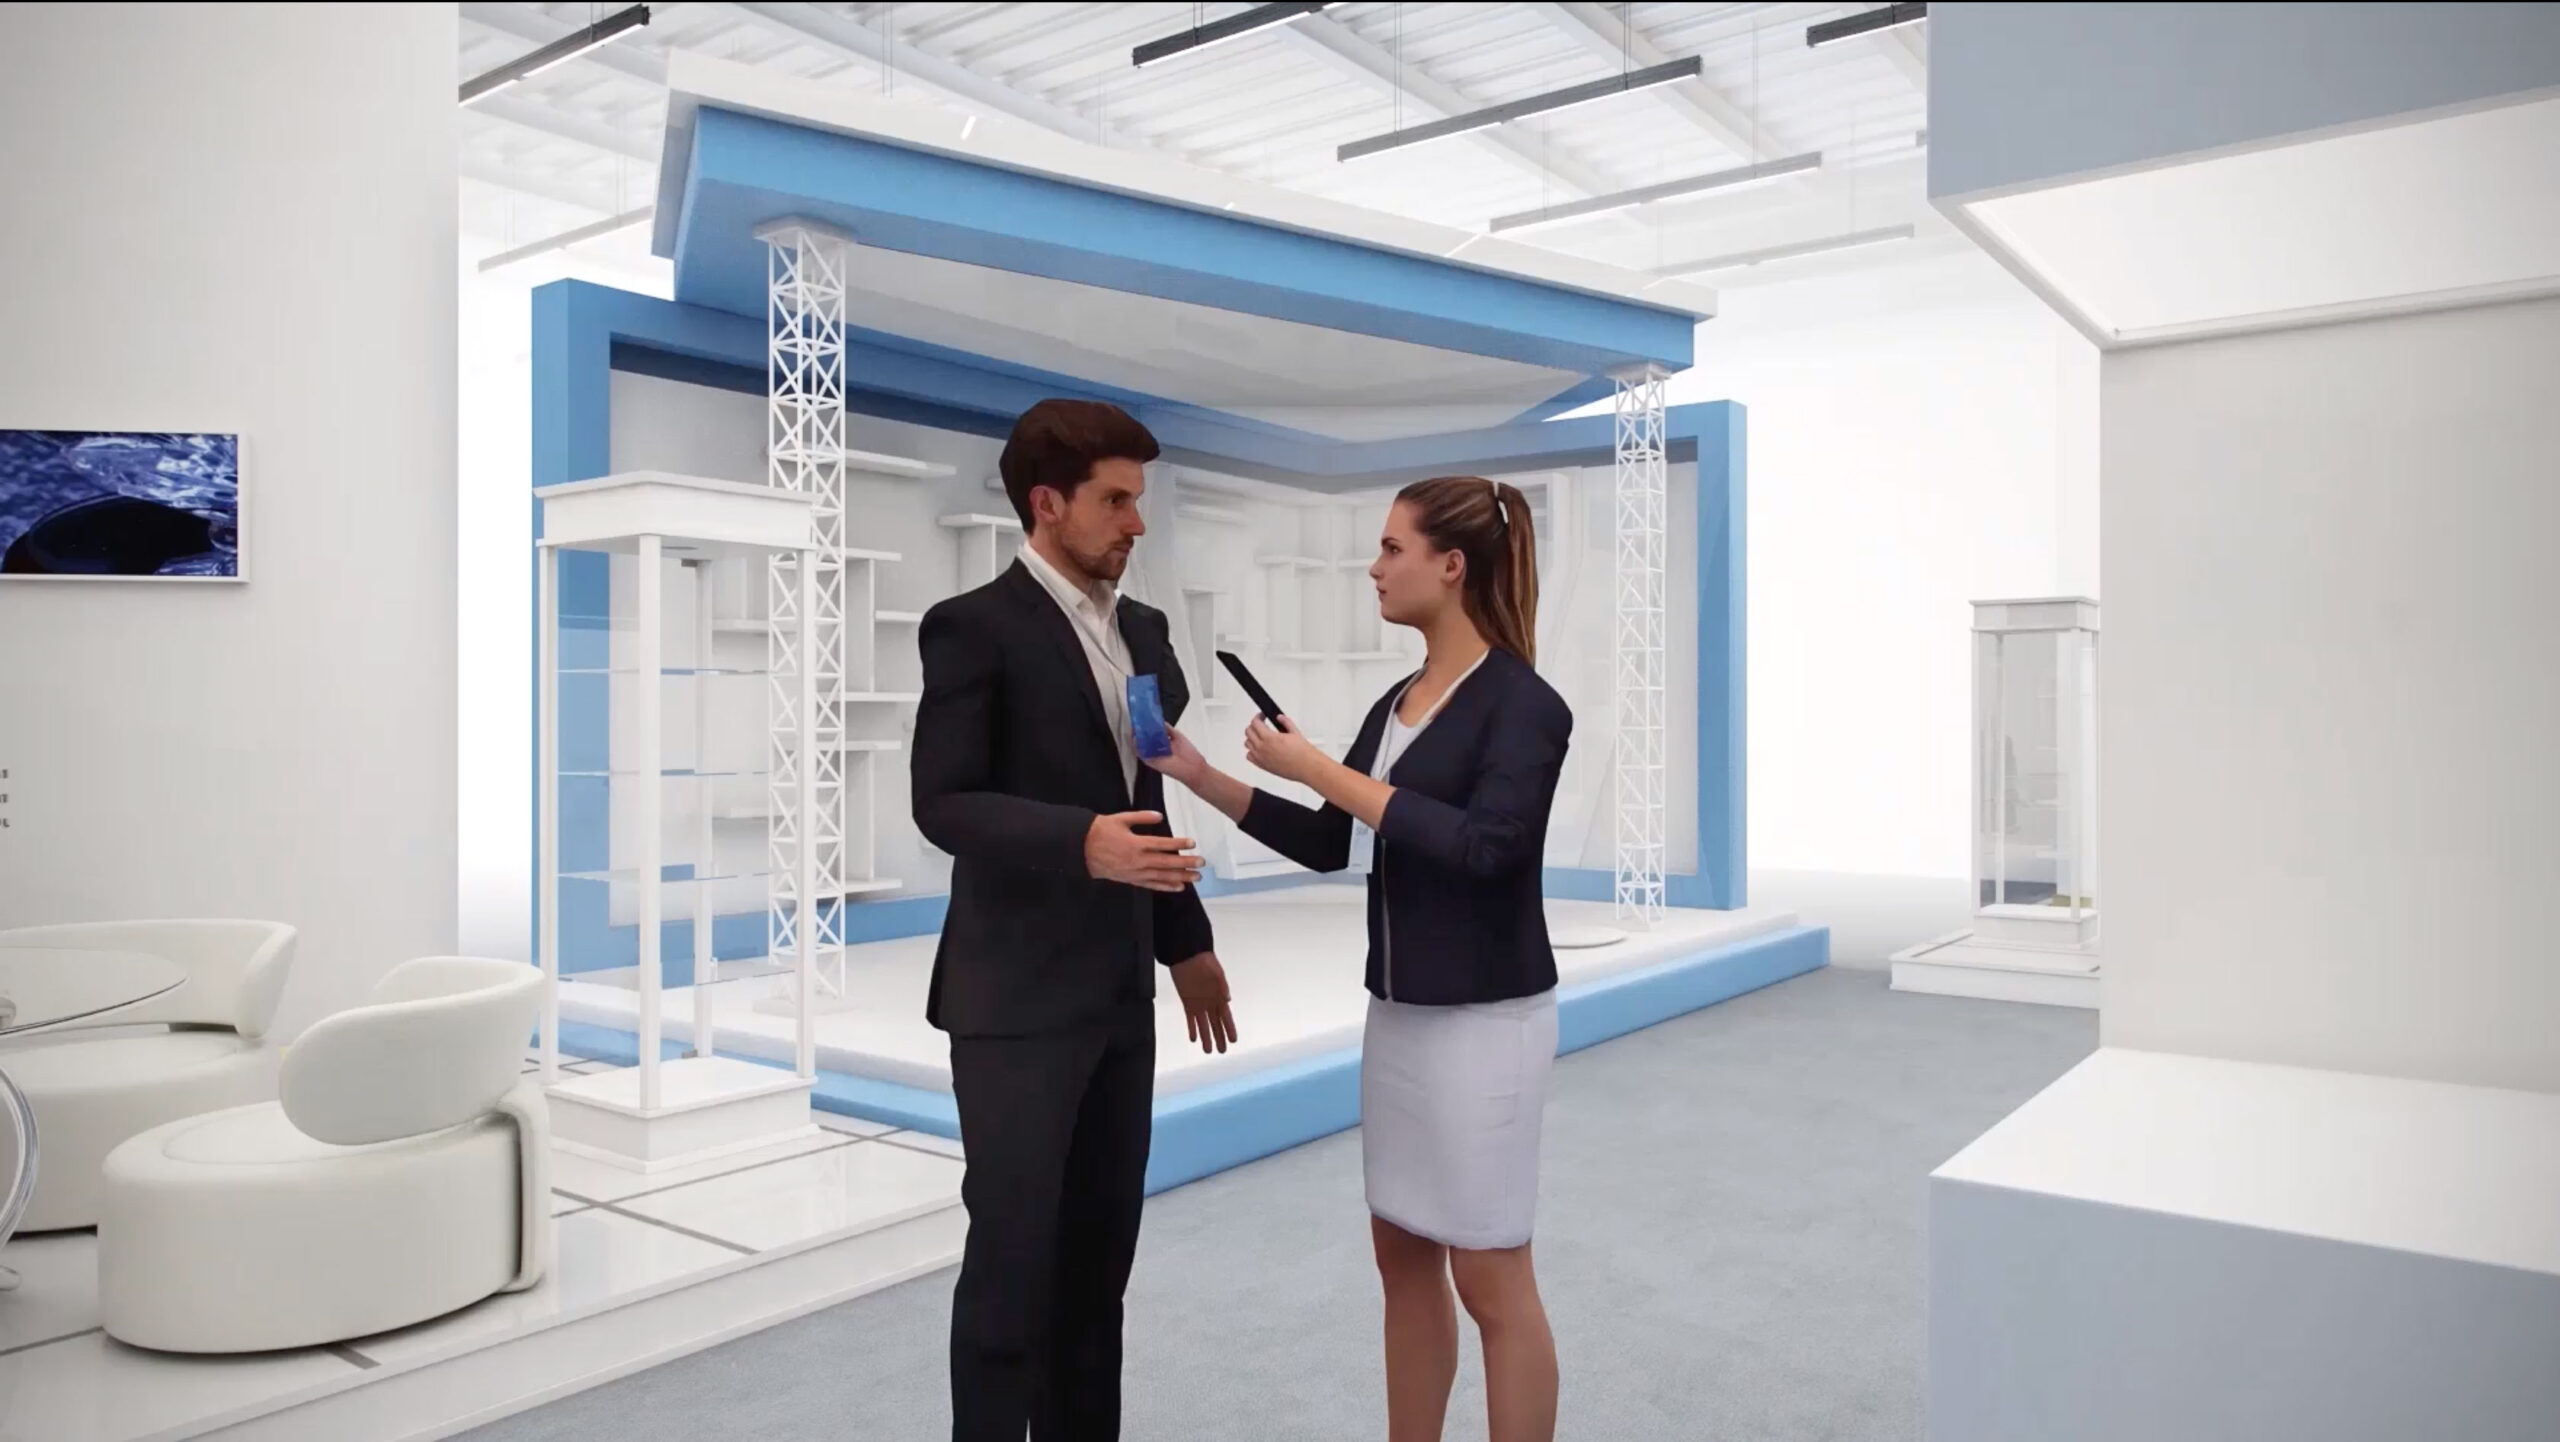
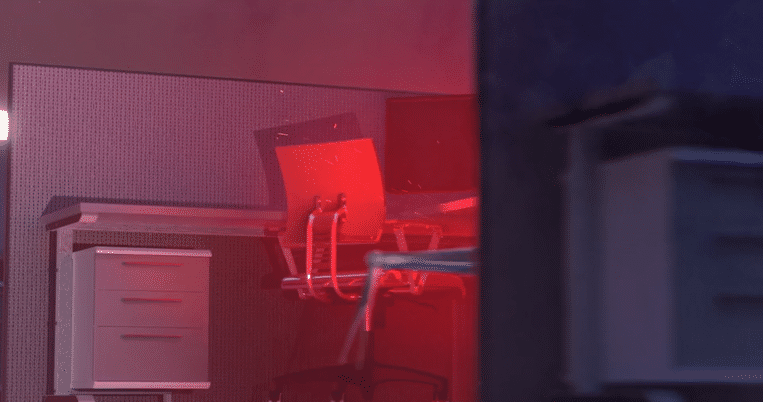
The Thing Tamer video we created consisted of animated 3D IoT office devices presented as wild creatures creeping through an office. To accomplish this, we had to carefully plan out our shoot during the scripting and storyboarding phase with the expectations of adding 3D animated creatures created in post-production. This entailed detailed storyboarding ahead of filming, then taking 360-degree spherical images of the intended 3D objects’ locations using a DSLR before creating the HDRI maps in Adobe Photoshop. While capturing 360-degree panoramic images isn’t essential, it can significantly increase the photo-realistic illumination and reflections of 3D-generated objects. HDRIs help in matching the color and lighting from the set or location to the inserted animated footage. This along with color correcting the footage to match the colors of the HDRI ensure any lighting and reflections are as realistic as possible.
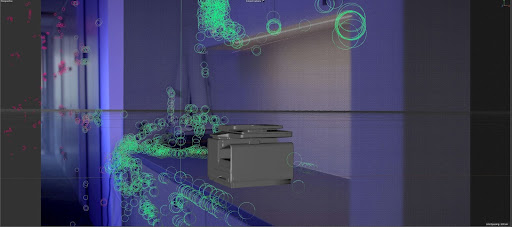
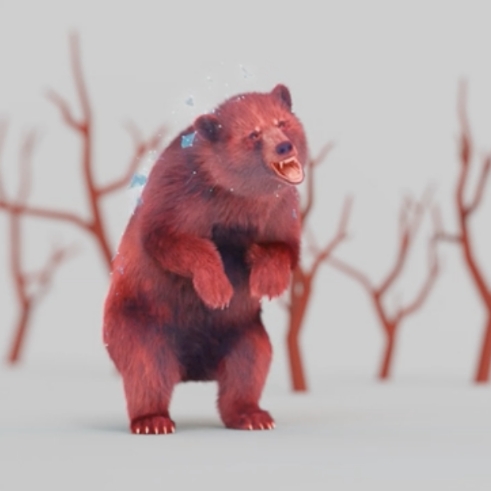
Once we got our raw footage it was time to get started in Cinema 4D. After motion tracking the footage, which creates points in 3D space to use for the animated objects we placed the 3D IoT creatures in their planned locations, aligned with their relevant tracking points. From there, we modeled the movements of the creatures using their real-life counterparts as inspiration. This is where things got interesting as we had to account for the various joints of each creature. For example, we ended up using the general motion of the first black widow spider’s leg as a baseline for the other legs, then accounted for individual differences between the legs and height of the printer torso. Small details like this help sell the illusion, keeping viewers believing the object is truly part of the scene.
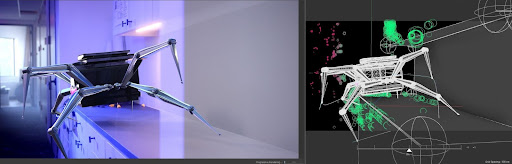
Once we finished adding all the objects, animation, lighting, and reflections to Cinema 4D, we were ready to render the various sequences. While there are a number of GPU-based rendering engines on the market, we use Redshift because it’s built to work seamlessly with Cinema 4D. While we also like Redshift for being fast, keep in mind that each rendered frame can take 3-5 minutes to render in high quality. So the actual render time can vary depending on the length and complexity of the shot. Thankfully, if a project has a tight timeline, you can either add additional GPUs to your rig or employ the aid of a render farm. At the end of the day, if the goal is to be as photo-realistic as possible, the project will likely lean towards the longer side.
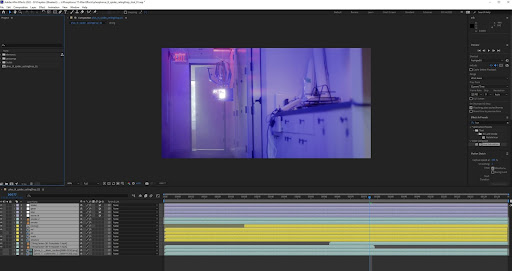
Once we finished exporting all our renders from Cinema 4D, it was time to start loading the sequences into After Effects. Once imported, we dove into layering the various sequences. Once again, this is a stage where it was vital for us to take our time to ensure the best quality. At this stage, as you work with the sequences, you may notice some issues such as particular lighting not working well with some 3D objects. So take the time to adjust the color to match the lighting of the footage. Always remember, the goal is to create a life-like 3D render that nearly or fully fools the user into believing it’s real. Any adjustments to the passes should increase the believability that the 3D objects are native to the footage. Once we were satisfied with the lighting, shadows, and reflections applied to the 3D objects, all that was left was to export the finished product. And that’s how we successfully created a film that blends live-action with 3D digital assets!
Whether you’re trying to create the next big 3D-blended campaign ad or a short teaser video, the experts at Bluetext can help. Our professional videography team is eager to identify intriguing stories to tell and how best to capture them. Want to learn more about how Bluetext can help your video needs? Get in touch with us here. To learn more about our Thing Tamer campaign, check out the full breadth of our work here.
Recent Posts
Bluetext’s Recent Work